Batches of liquidations come down from ABI every Friday. This info goes into the
Liquidations Database on the Query Menu (option 70).
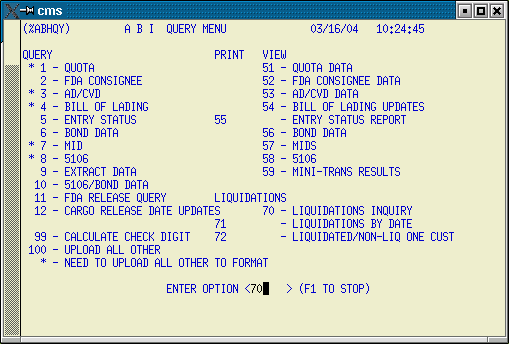
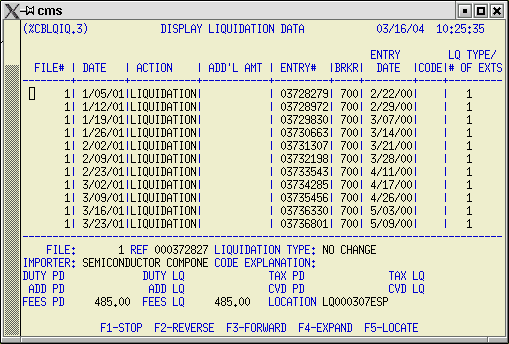
You can locate a file (if it's been liquidated) using either the file number or the entry
number. Once you have located the file with the F5 function key, press the F4 key to
expand the detail on the bottom portion of the screen.
All the entries showing file number 1 are entries that were done on a system prior to converting to AIRPEX.
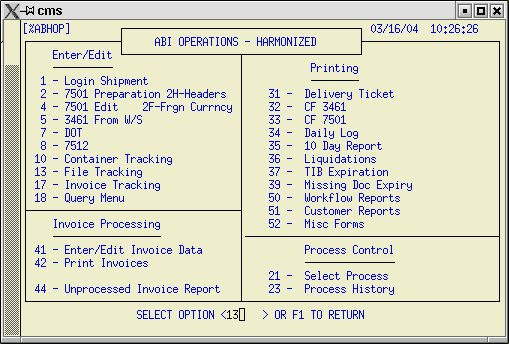
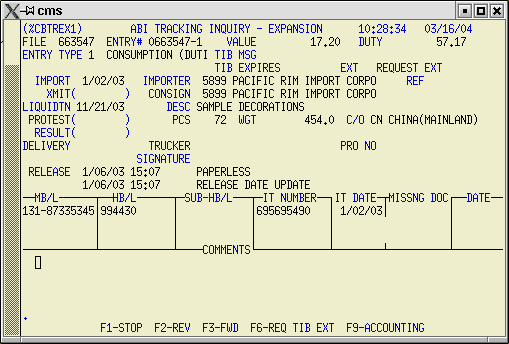
You can also check liquidation info in a couple of places in File Tracking
(option 13 on the ABI Operations Menu). Once again, the entries must have
already been liquidated to show up in these screens.
Locate the file with F5
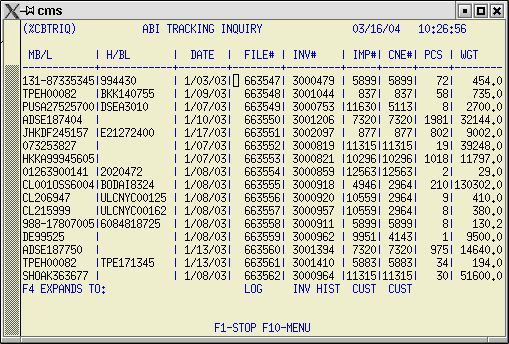
Then press F7 for Expanded File Tracking info
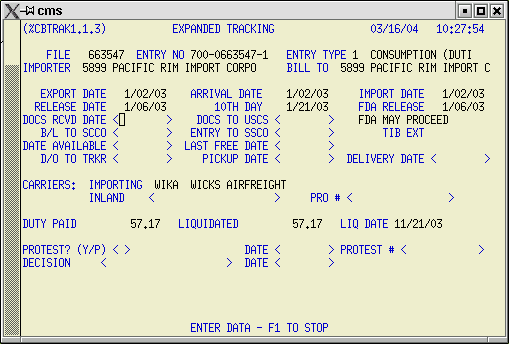
or press F8 for ABI Tracking info.
You can do an Entry Summary Query to find out when an entry is due to be liquidated.
Go to the 7501 Edit screen, enter the file number, then press enter to bring up the file.
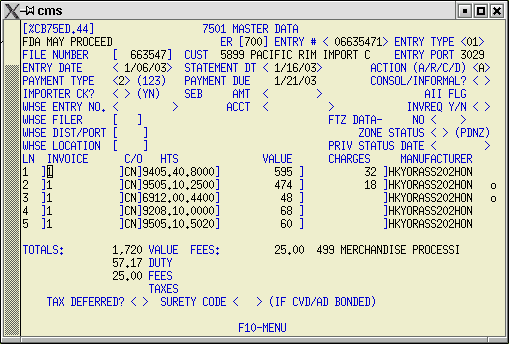
Open the menu with F10 or simply use F13 to generate an entry query for ABI.
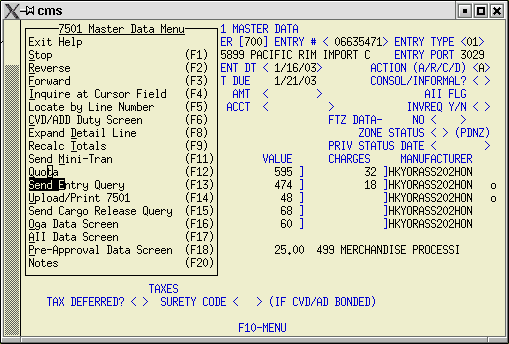
Make sure that you use the Upload All Other function on the ABI Transmission Menu
(option 3). The query will be sent to ABI on the next transmission. You should get the
response to your query back on the same transmission, if you're lucky. You can view
the results via the Query Menu (option 55)
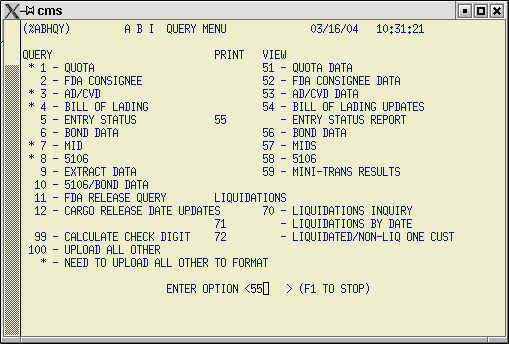
Designate your desired printer and optionally your Site Number. Your query results
will be printed/displayed.
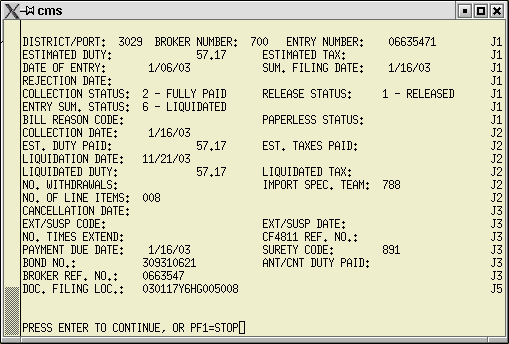
If there are no changes required for the entry, or automatic suspensions required for
the entry type, anticipated liquidation date will be displayed. Otherwise the EXT/SUSP
Code and Date fields will be filled in.